Explore nature · Make things together · Nordic hygge
A walk through rustling woodland, colourful leaves and time for one another: join Asger and Saga as they turn little treasures from the forest into glowing autumn globes.
Advertising: This post contains Amazon affiliate links and introduces our paid PDF pack at the end. As an Amazon Associate I earn from qualifying purchases. The scenes are AI-generated illustrations and do not document actual craft results.
When autumn shares its colours
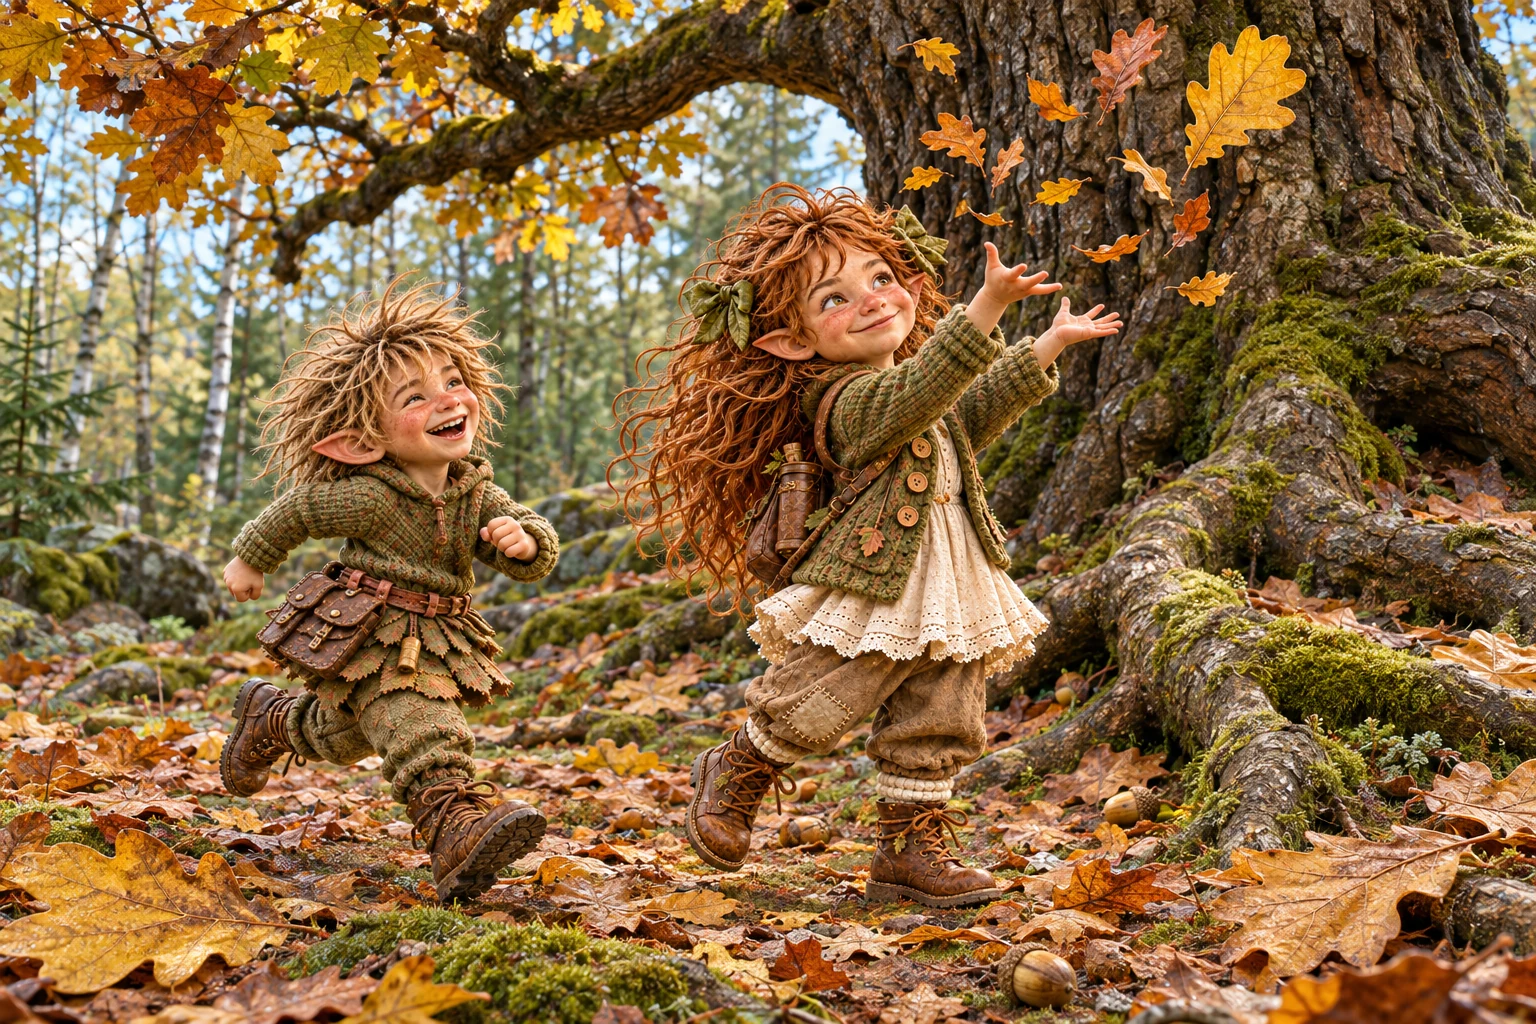
Sometimes mist hangs between the trees in the morning. The air grows cooler and golden, copper-red and brown leaves gather on the forest floor. For the two tiny woodland trolls, it’s an invitation to look closer. Asger runs through the leaves while Saga laughs and throws a handful into the air.
An autumn activity for children often begins with a simple pleasure: being outdoors, listening and discovering something new. Your walk doesn’t need a set plan. You might stop at a tree root, compare two leaves or pause to hear the wind in the branches.
Discover little treasures from nature
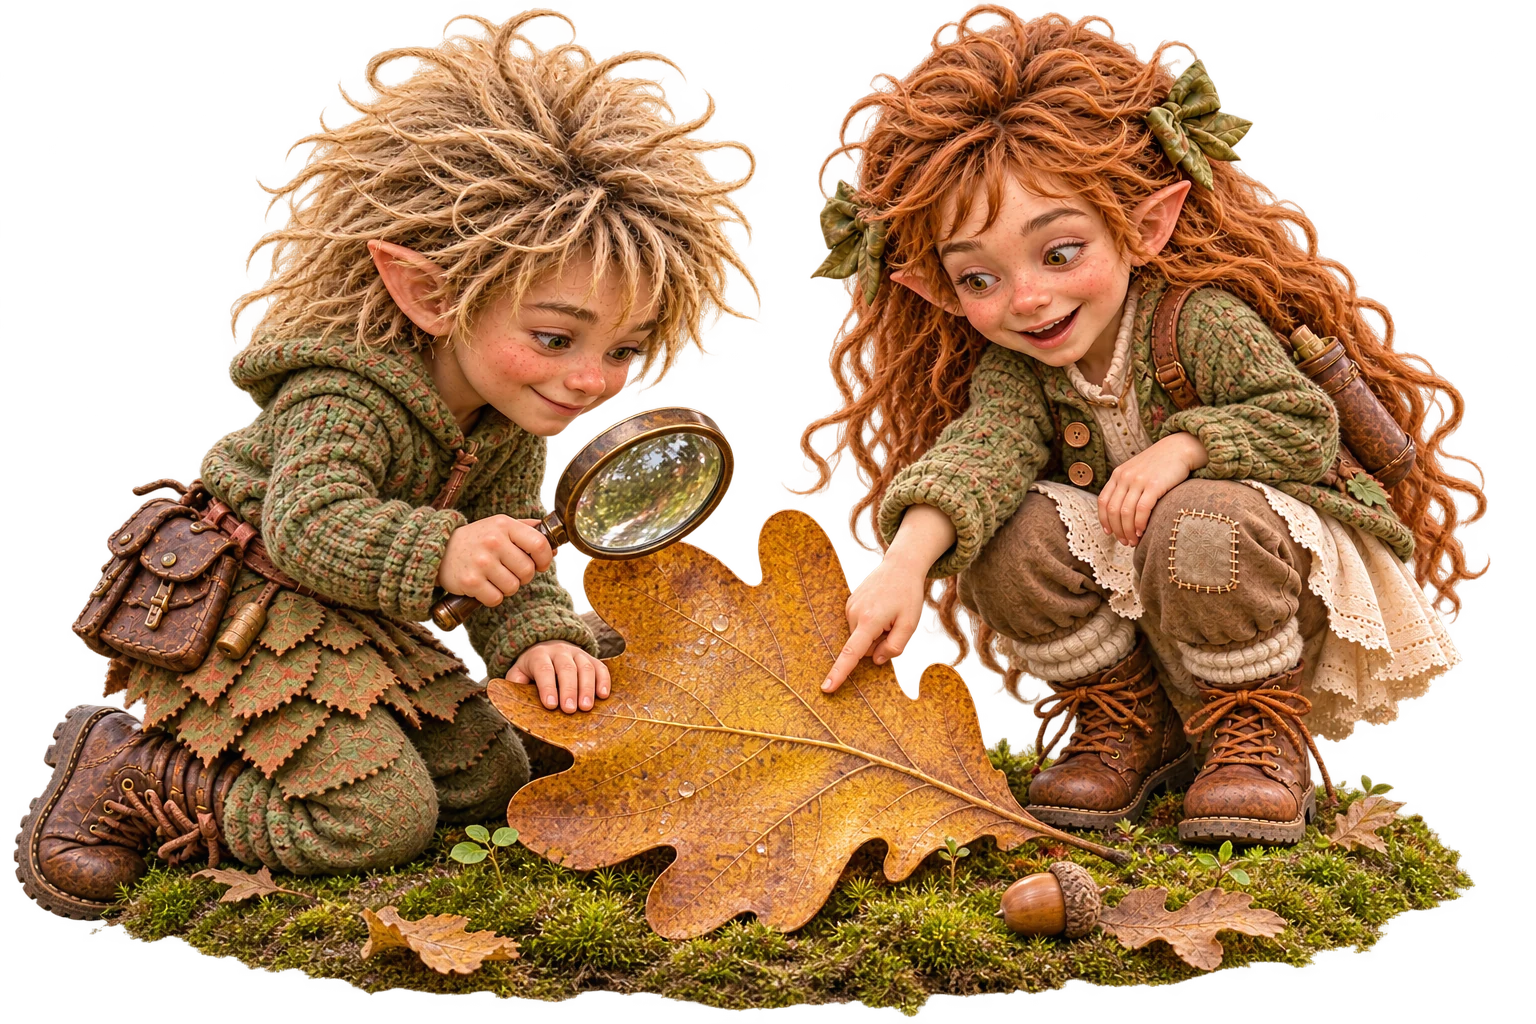
Under a tree, Asger and Saga find a large leaf. Its veins branch like a network of little paths. Asger takes out a magnifying glass, and Saga points to the wavy edge. Suddenly, an unassuming find becomes a small expedition.
Collect a few leaves that have already fallen, preferably intact. Leave enough for wildlife and the soil, and follow local rules, especially in protected areas. A few finds are enough to compare. Sort them by colour, shape or size, or make up your own system.
A little question to explore
“What do you notice about this leaf?” has many possible answers. One child might notice the pointed tips; another might spot a mark or the smooth underside. You don’t have to identify every tree straight away. Look it up together if you want to know more.
Choose clean leaves with no mould. Dry damp finds gently and, if needed, flatten them between sheets of absorbent paper. Very brittle leaves can break while you’re working with them. Try a single leaf first to see how it fits around a curved surface.
Turn autumn leaves into magical globes
In the woodland cottage, there’s translucent paper, balloons, brushes, water and glue suitable for the project. Asger pulls a balloon behind him as if it were an enormous treasure. Saga spreads out the leaves they’ve gathered and decides which colours to place together.
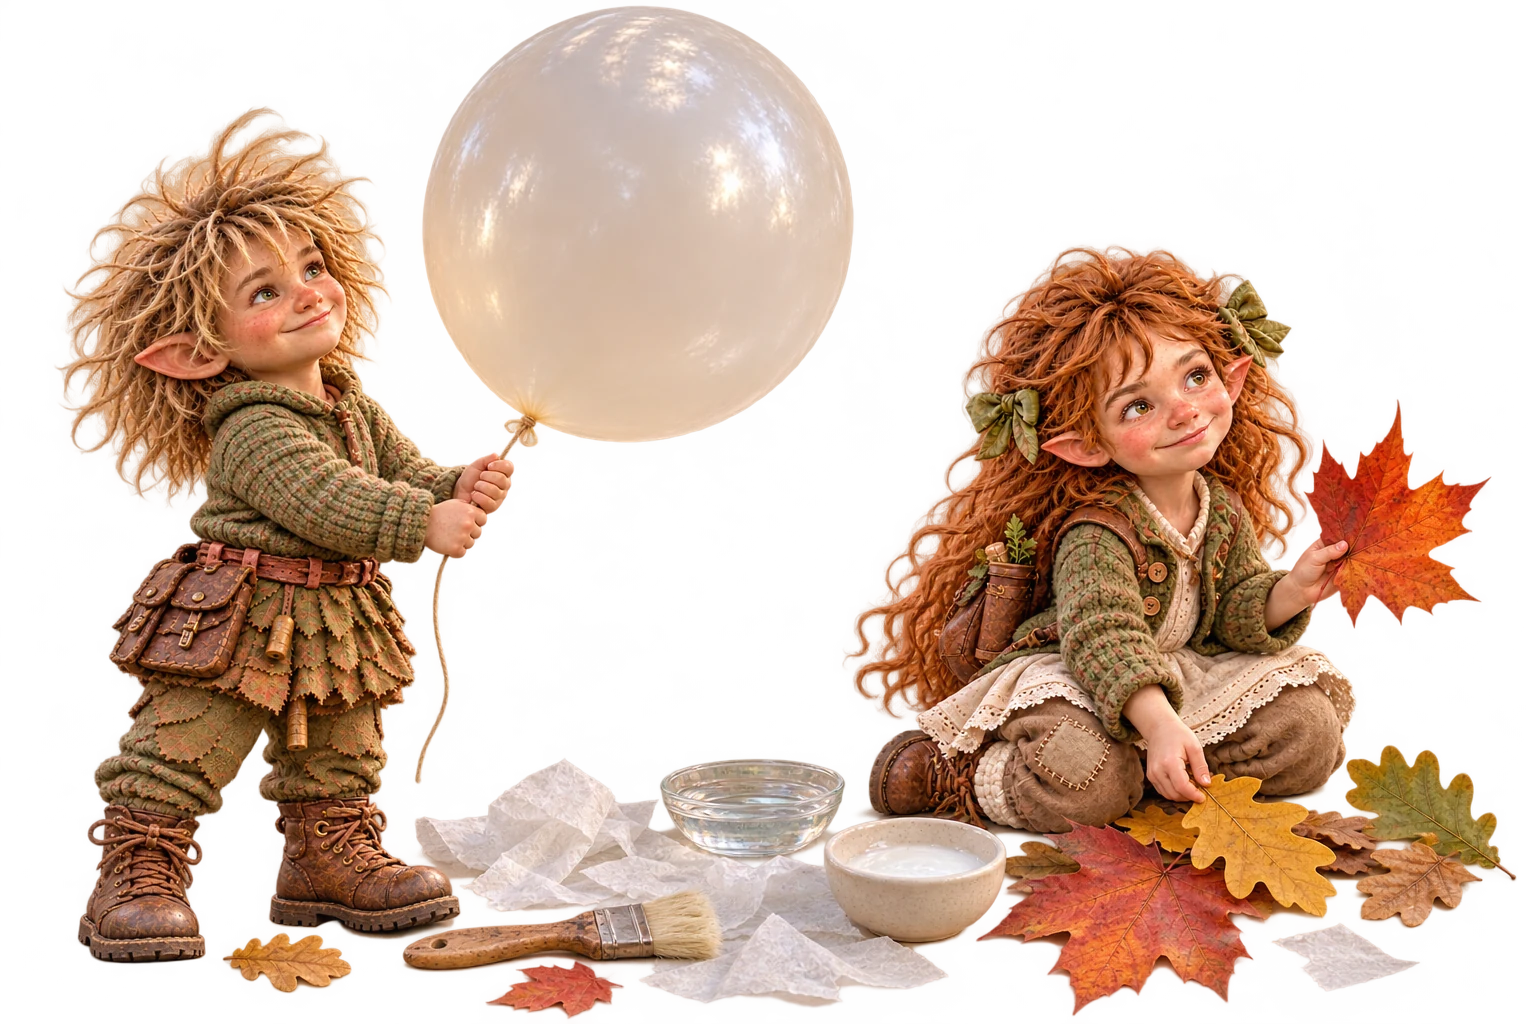
The idea is simple: an inflated balloon gives the globe its shape. Layers of translucent paper form the light shell, and autumn leaves add colour and texture. Remove the balloon carefully only when everything is completely dry and strong enough. The leaves decorate the globe; the paper shell supports them.
- Prepare the materials. Protect the work surface and tear the translucent paper into manageable pieces. An adult inflates the balloon and sets it securely in a suitable bowl.
- Build the paper shell. Use water to lay pieces of paper on the balloon for the first layer. Apply further layers with suitable glue. Follow the material instructions and the detailed guide.
- Decorate with leaves. Lay the leaves on gently and work them into the shell. More leaves give a denser pattern, while little gaps let more light through later. The leaves don’t have to lie perfectly flat or evenly spaced.
- Give the shell time to dry. Allow plenty of time, usually at least overnight. It can take longer depending on the thickness, materials and conditions in the room. A dry surface does not mean all layers are dry.
- Remove the balloon. An adult carefully lets the air out and eases the balloon away from the dry shell. Only then should the hanging cord and lights be fitted securely.
This is an overview of the technique. The illustrated PDF guide gives quantities, sizes, detailed steps and further tips.
Material examples from the PDF
Advertising / affiliate links: The links below lead to Amazon.de. As an Amazon Associate I earn from qualifying purchases. This does not increase the price you pay.
These examples come from the PDF pack and are not products we have tested. Check materials, dimensions, age guidance and the manufacturer’s instructions for each listing. Use suitable supplies you already have if you can.
- View translucent paper, listed as 102 g/m² in the PDF (Amazon.de · affiliate link)
Check especially whether the paper will mould to the shape of the balloon. The shell needs thin paper that lets light through. - View glue for leaves with a matt finish (Amazon.de · affiliate link)
Check that it is suitable for paper and leaves, and read the guidance on use with children. - View a paintbrush set (Amazon.de · affiliate link)
A soft brush helps you lay the paper and leaves down gently. - View a painting smock or craft apron (Amazon.de · affiliate link)
Old clothes can also protect the clothes underneath. - View optional children’s nitrile gloves (Amazon.de · affiliate link)
Use only well-fitting gloves under supervision. Gloves are not required for this craft. - View LED string lights (Amazon.de · affiliate link)
Check that the lights are suitable for paper decorations and how they are powered. The battery compartment and switch must be accessible. - View a small collecting basket, optional (Amazon.de · affiliate link)
A container you already have is enough for a few finds. - View a large collecting basket, optional (Amazon.de · affiliate link)
Choose a size the child can carry comfortably. - View Pelikan opaque paints for an optional leaf print (Amazon.de · affiliate link)
You don’t need watercolours to make the globes. For leaf printing, use any suitable paints you already have.
You’ll also need balloons, water, small bowls, a protective covering, a sturdy way to hang the globes and strong jute twine. The PDF has no clickable product link for jute twine.
Make things together at your own pace
A leaf goes on crooked, a bit of paper sticks to a finger, the balloon rolls away. That’s part of making things. Children can get to know the materials, try different movements and make their own choices. The right amount of help depends on the child and the task.
Break the work into manageable steps. One child might choose colours while another tears paper or uses the brush. A child who doesn’t like touching glue can use a brush or start by sorting leaves. You can also take a break or swap tasks.
“Would you like me to hold the balloon while you put the leaf on?” offers specific help. “Would you like to carry on or take a break?” gives the child a clear choice. The globes can look different; there is no need for a shared pattern.
Drying time is part of the project. It makes room for something else: another walk, a story or simply a cosy evening.
A glimpse of Germany
St Martin’s Day on 11 November – when lanterns light up the dark
While the globes dry, Asger and Saga sit on the floor of their Nordic woodland cottage. In front of them is an iPad that looks almost like a cinema screen to the tiny trolls. On screen, children in Germany carry homemade lanterns through the dark evening.
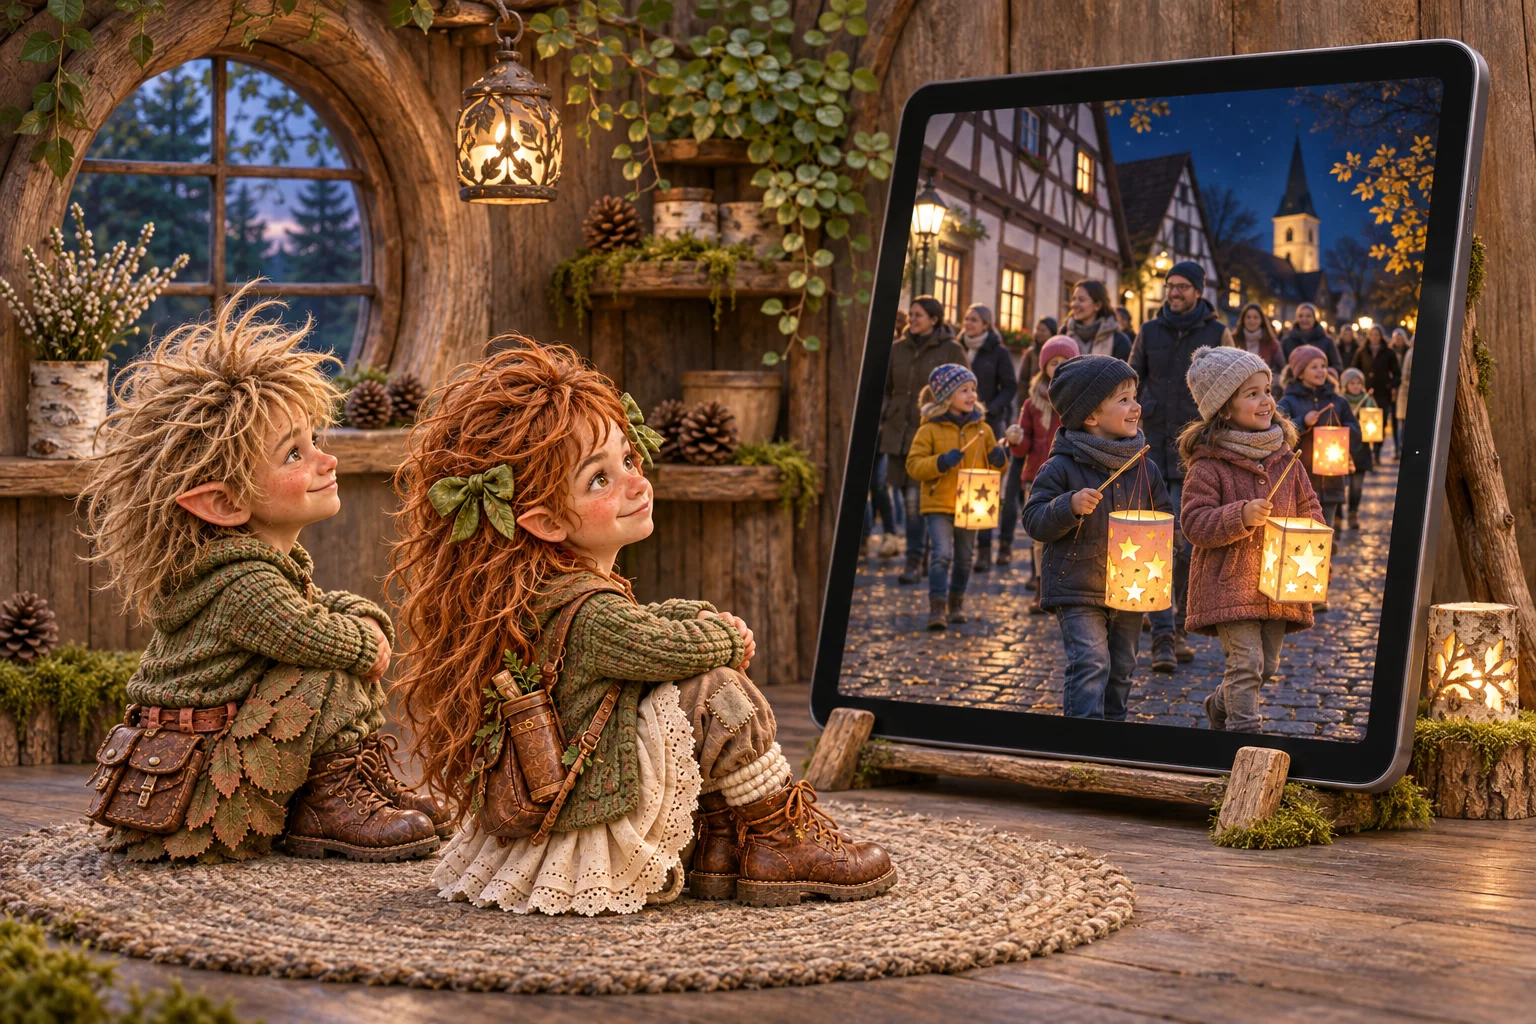
In many parts of Germany, lantern processions take place around St Martin’s Day on 11 November. Children and adults walk through the streets together and sing songs about St Martin or their lanterns. The tradition often remembers Martin of Tours. A well-known legend tells how he shared his cloak with a poor person who was cold.
The story of sharing and noticing other people’s needs can start a conversation: Who could we help today? What would we like to share with someone? The religious significance, dates and customs of the processions vary from place to place.
This is a German tradition. St Martin’s lantern processions are not a general Scandinavian autumn custom. Both ideas bring light to the darker season, but our autumn globes are decorations and may not be suitable as lanterns to carry.
Read about the tradition: St Martin – Archdiocese of Cologne (in German).
When autumn begins to glow
At last, the shells are completely dry. Asger and Saga look at their three globes of different sizes. Golden, red and brown leaves sit close together over the rounded surfaces. Here and there, a little translucent paper shows through. The irregular patterns make each globe unique.
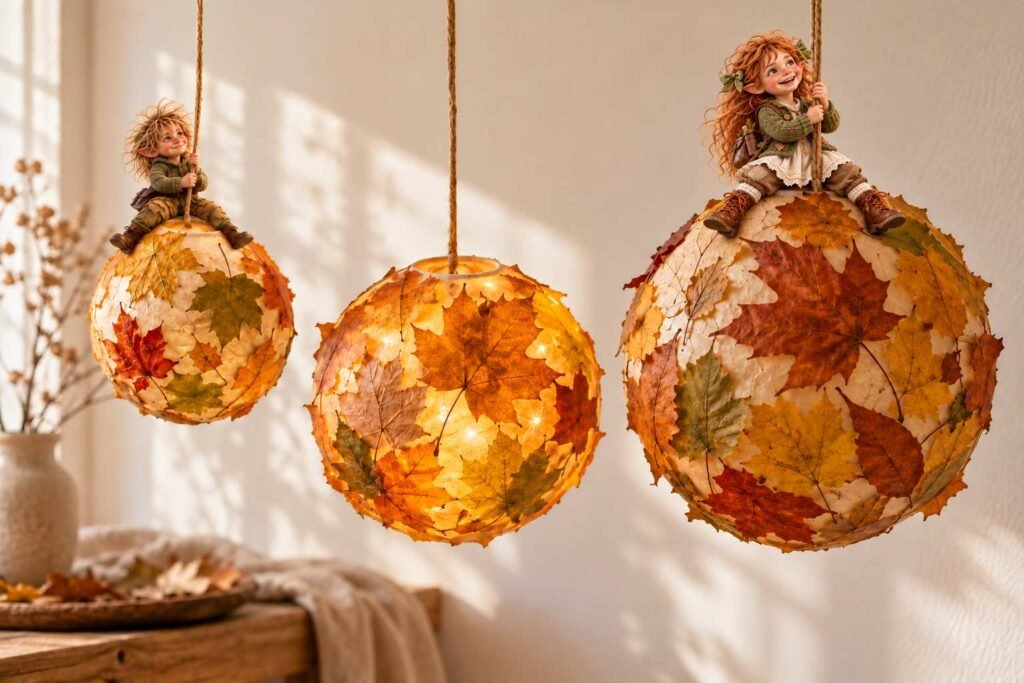
Suitable battery-powered LED string lights cast a soft glow. Where the leaves overlap, the light is darker; in thinner areas, the veins shimmer. Hanging from a securely fixed branch, the globes are a reminder of your walk in the woods together.
Lighting and hanging: Use only LED lighting suitable for the intended purpose. Follow the manufacturer’s instructions, and leave the battery compartment and switch accessible from outside. Check that the shell and hanging support can safely bear the weight. Hang the decoration out of reach of small children.
When autumn leaves become hygge
Outside, the forest turns blue and still. In the cottage, Asger and Saga sit with their tiny teacups. They watch the glowing globes, talk about what they discovered and let the day wind down.
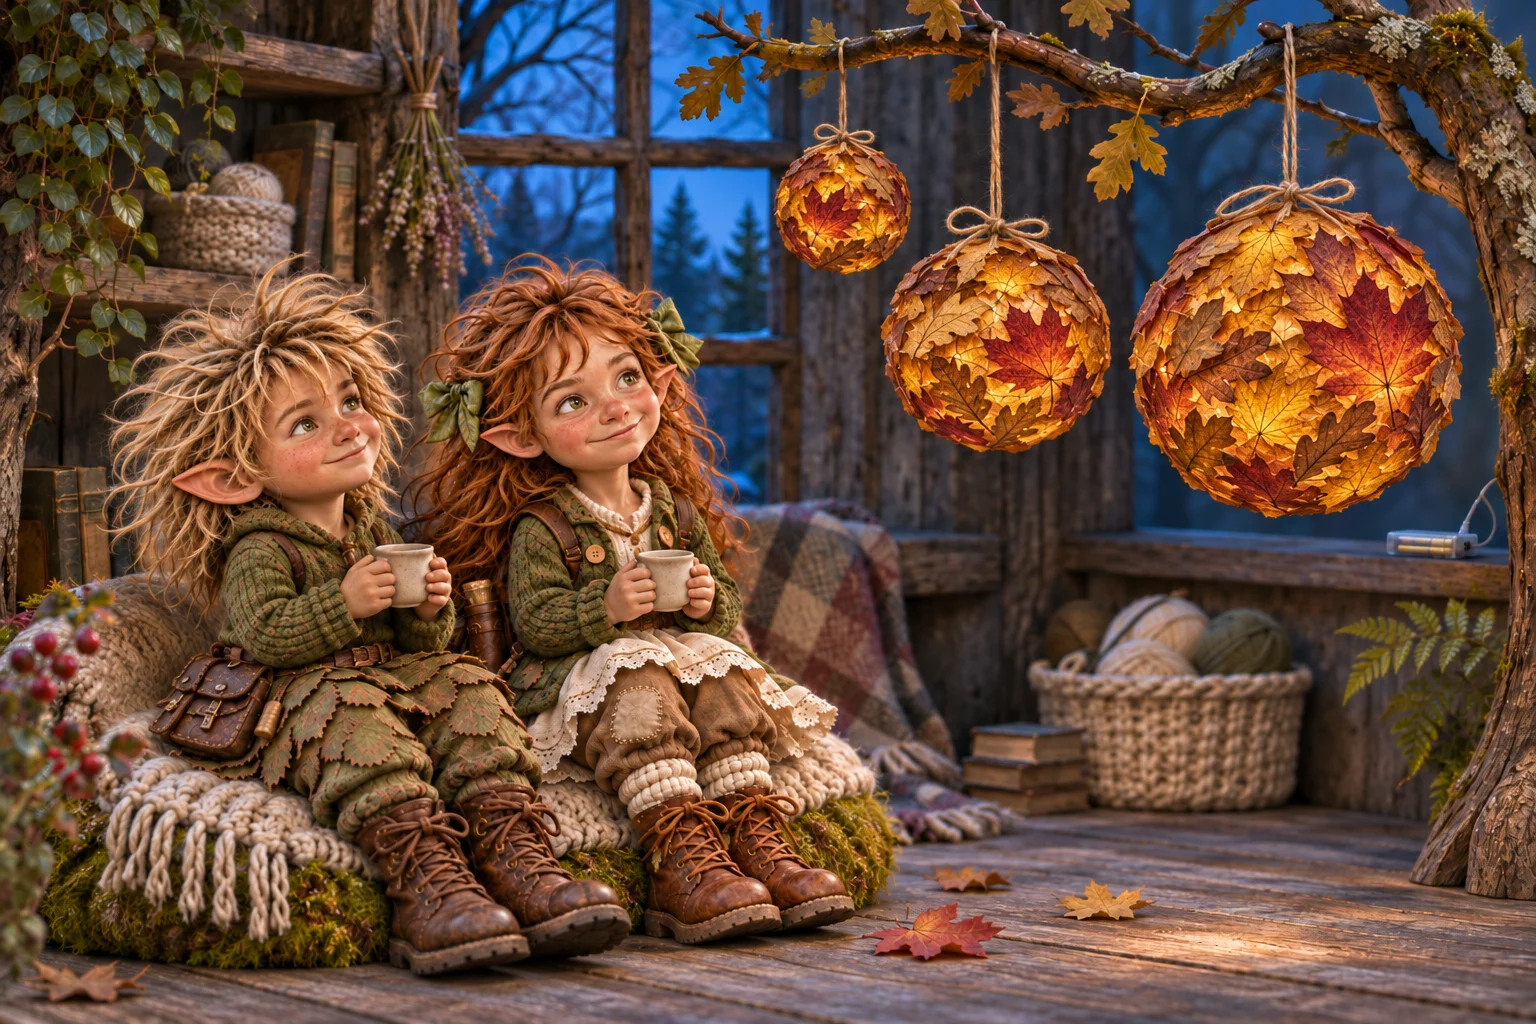
The Danish word hygge describes a feeling of warmth, comfort and enjoying time together. You don’t need a perfectly furnished room or an elaborate plan. Time for one another, a familiar place and something you’ve made yourselves can be enough.
Perhaps that’s the loveliest magic of the autumn globes: they hold both the colours and a shared memory. Of collecting, trying things out and seeing a little discovery turn into an idea of your own.
Keep creating with Asger and Saga
Make your own magical autumn globes
The  PDF pack includes an illustrated craft guide and more autumn ideas. It contains 26 A4 pages per language. All five complete language versions come in one purchase:
German · Danish · Norwegian Bokmål · Swedish · English
The pack has instructions for globes measuring about 15, 20 and 25 cm, an optional LED version, an autumn hunt and leaf printing, plus tree cards, answers and guidance for adults.
12,90 EUR
Digital PDF download. Printed pages and craft materials are not included. All five language versions come in one purchase.